Generative AI with ComfyUI
Firstly, yes. It’s all junk. But, AI image (and video) generation is actually quite interesting to play around with from a “how the hell does it actually work” point of view. Sure, you can just use ChatGPT or Copilot for free, or pay for Midjourney or similar, but where’s the fun in that?
Now, you could absolutely set up Stable Diffusion locally, and even play around with their web GUI to generate images. But, their GUI is a bit limiting and going any deeper requires writing scripts and all-sorts. Fine if you love doing that sort of thing but, if you’re like me and just want to play around with things, then there is a better option.
ComfyUI
ComfyUI is an open source, node-based UI for running diffusion models. It’s easy to get up and running, but it’s also pretty flexible and powerful if you want to get really serious. Rather than just a simple text prompt, Comfy allows you to create entire workflows using linked nodes, giving you full control over everything from model loading, text encoding and sampling, conditioning and much more.

There are loads of tutorials and guides online already for this, but I wanted to just throw together a quick walkthrough for anyone wanting to play around with image generation on their own PC.
It’s worth noting that this is all for Windows. Linux / Mac may differ slightly in the setup, but the general principle is basically the same.
Below, I’ll run you through setting up ComfyUI with the “Flux2-Klein 4b” diffusion model. Now, the important bit in that is the 4b part. 4b means 4 billion parameters, which reflects the size of the model. There’s a lot more to it, but essentially, the more parameters, the more capable the model, but also the more resources that are needed to run it. Four billion is a nice balance between capability and resource friendliness. This model, for example, will run fairly comfortably on an 8GB GPU.
Flux-Klein?
Flux2-Klein is a lightweight variant of the Flux diffusion model family designed for efficient inference (it uses much less VRAM), has fairly strong prompt adherence and has a good level of compositional understanding. It’ll run happily on my laptop, which has a 4060 with 8GB VRAM & 32GB RAM, but it runs even better on my desktop PC with more VRAM. I believe it’ll also run in as little as 6GB VRAM, but I can’t confirm that. One thing to bear in mind, though, is that NVIDIA GPU’s are strongly recommended. CUDA cores make everything much quicker, and while running on an AMD card is possible, it’s a bit more involved getting it set up.
You’ll also need around 20GB disk space to download the models.
Install ComfyUI
You have two options here. The easy one is to just grab the installer from the ComfyUI website. Install it, and you’re ready to go.
Alternatively, you can do it the less easy way, via Github.
git clone https://github.com/comfyanonymous/ComfyUI
cd ComfyUI
Create the environment:
python -m venv venv
venv\Scripts\activate      # windows
Install deps:
pip install -r requirements.txtRun Comfy:
python main.pyAnd, then you can open the UI by browsing to:
http://127.0.0.1:8188Grab the workflow template
We’re going to cut some corners here, because while we could go through installing everything manually and then building out a fully custom workflow, our aim here isn’t to dive that deep, but get up and running quickly to start playing.
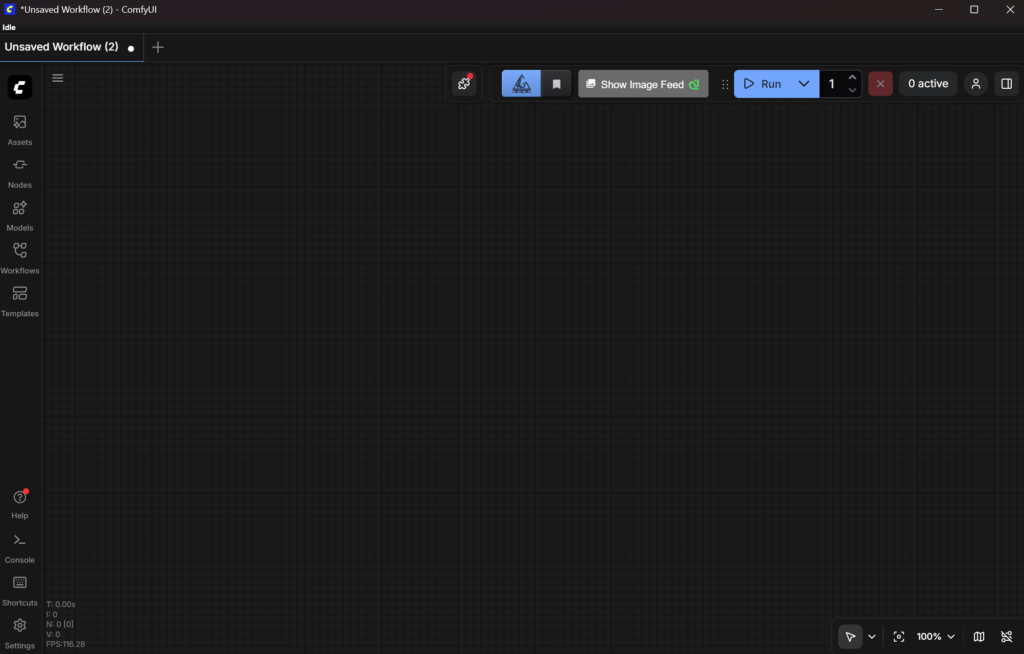
So, once ComfyUI has opened, you should see something like this (it may be a bit different if you install via Github and access via the browser):
On the left, hit “Templates”. Search for “flux klein” and click on the “Flux.2 [Klein] 4B: Text to Image” template. This will download the Comfy workflow, and then it’ll prompt you to download the required models. Hit download, go grab a cup of coffee while you wait, and then we’re ready to go.
So, what now?
You should have something like this now:
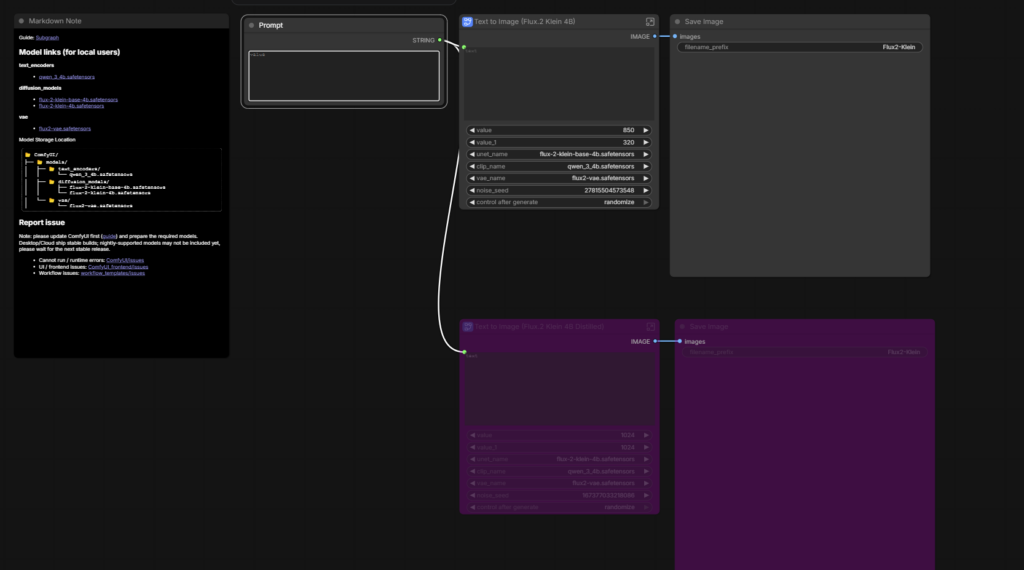
Now, you can just type a prompt into the prompt box and click run. Give it a couple of minutes and your image will appear. Simple!
But, what’s actually happening?
Well, you can dig into the workflow by expanding the Text to Image node, which will open up the “inner workings” of the workflow.
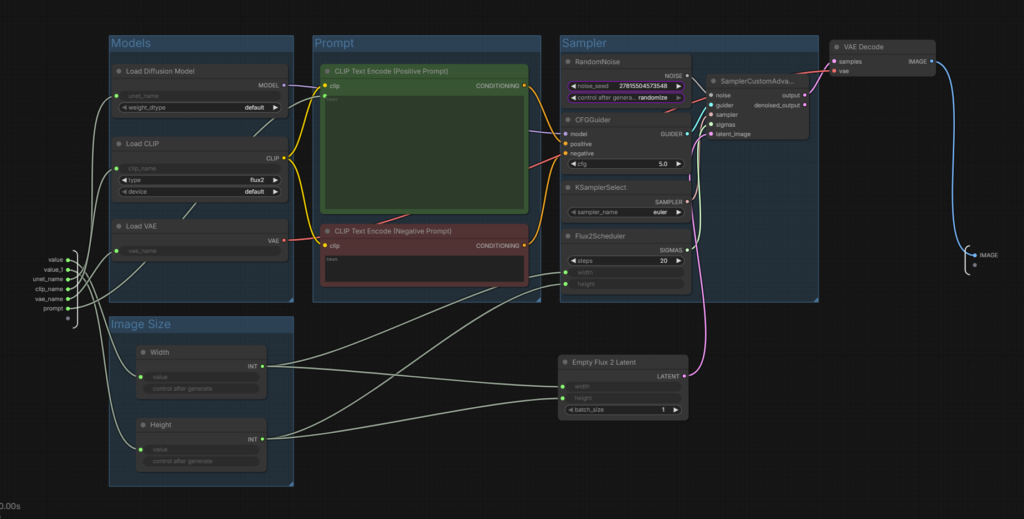
There’s a lot going on here, but I’ll try and explain briefly what each node does and the parameters on each one.
1) Load Diffusion Model
- This is the main diffusion model responsible for image structure and detail
- Changing this switches the base model
2) Load CLIP
- Text encoder used to convert prompt → embeddings
3) Load VAE
- The VAE is the decoder that converts latent to an RGB image, and influences colour, sharpness, and contrast
4) CLIP Text Encode (Positive)
- The encoder used to convert text. The positive is your main prompt.
5) CLIP Text Encode (Negative)
- Negative text encoder, allows you to suppress certain features, e.g. “hat” would stop it generating a hat in the image.
6) RandomNoise
- Starting latent noise. Keeping the same seed allows you to reproduce the same image.
- Randomise changes the noise seed on each run, creating a different image each time, while fixed allows you to keep the same seed for consistent image generation.
7) CFGGuider
- CFG stands for Classifier Free Guidance. It’s sort of like a strength slider for prompt adherance.
8) KSamplerSelect
- The sampler is the algorithm used to denoise the image. This affects:
- texture
- sharpness
- noise pattern
- speed
9) Flux2Scheduler
This is Flux-specific.
- Number of denoising iterations. More steps provide better detail, but there are diminishing returns. Stick with around 20 for now, but you can play with it to see how your results differ.
10) SamplerCustomAdvanced
Core sampling node.
11) Empty Flux 2 Latent
- This node lets you set the image resolution and the batch size. Higher resolutions take longer to generate, and larger batches produce multiple images, and also take longer to generate.
12) VAE Decode
- Variational Autoencoder. This takes the latent and decodes it into an RGB image
Annnd finally
Flux2.Klein is just one of many models, and it’s worth exploring some of the other built in templates (bearing in mind that some of them will need a LOT of VRAM, and still take hours to generate things, especially video). But you can also go spelunking through HuggingFace and grab your own models there.
Once you’ve been playing with it for a while, you can start exploring LORA’s (low rank adaption), which can be trained on specific things to improve image and video generation. For example, you could pick up a (model compatible – different LORA’s work with different models) vehicle LORA, which would let you generate accurate images of real cars, or animal LORA’s, trained on datasets full of animals, giving you access to accurate animal image gen. Again, you can find these on sites such as HuggingFace, RunComfy and even Reddit.
This has just been a real light touch introduction, and I’d be happy to go into more detail if anyone wants me to. I’ve been playing with this stuff for a few months now, and while I’m absolutely not an expert, I know my way around pretty well by now.
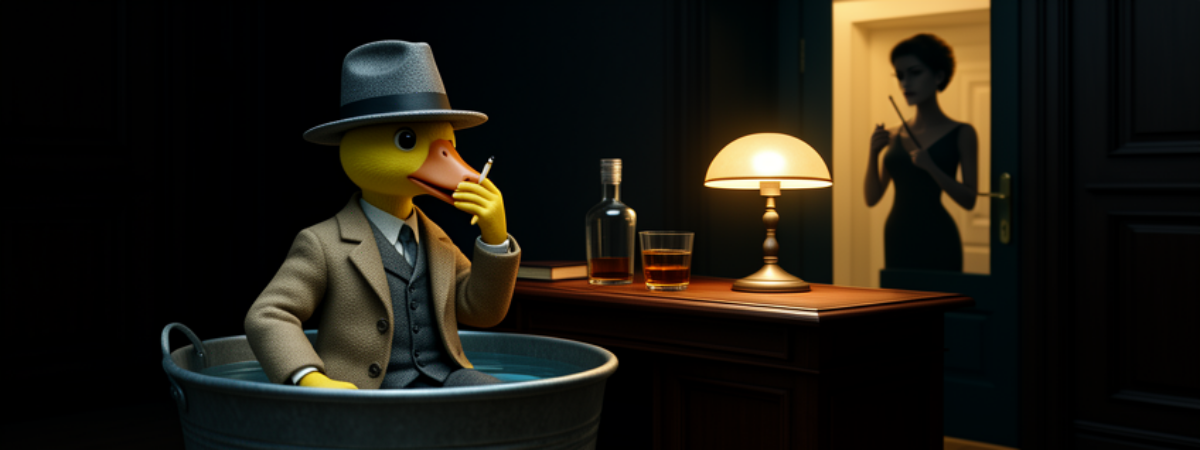
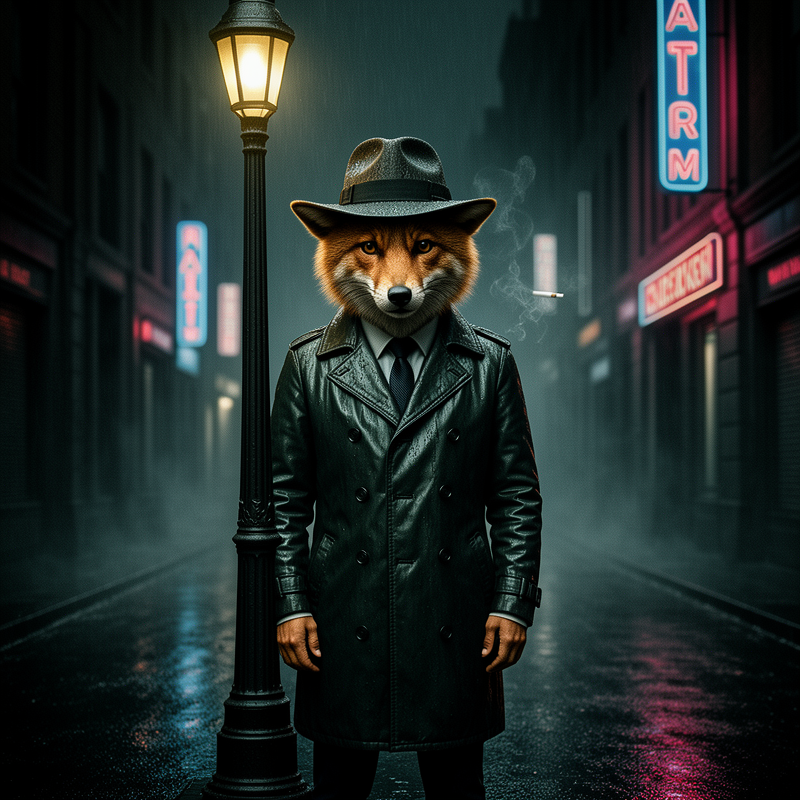
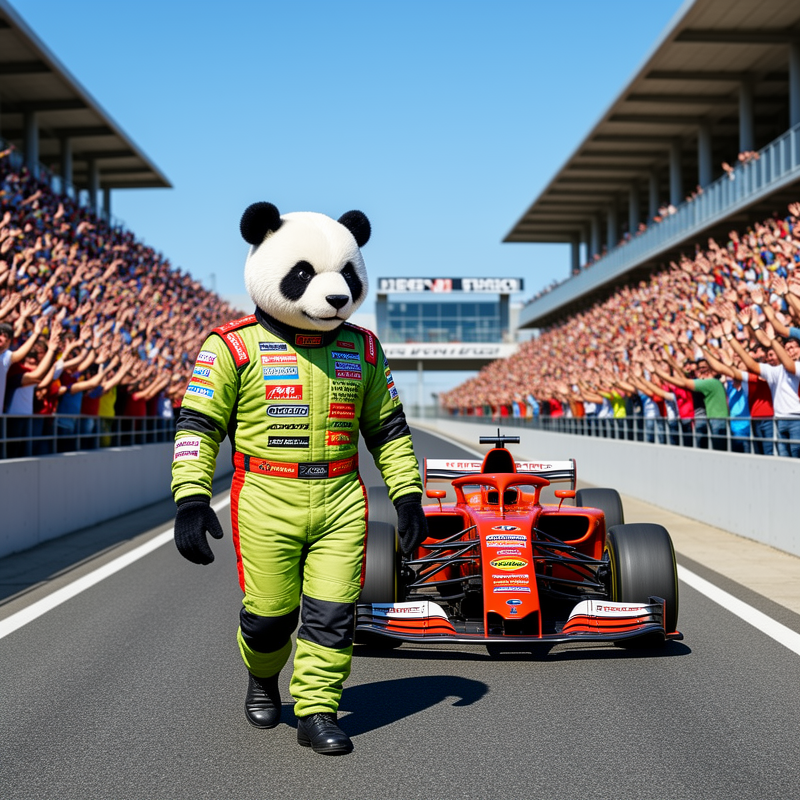
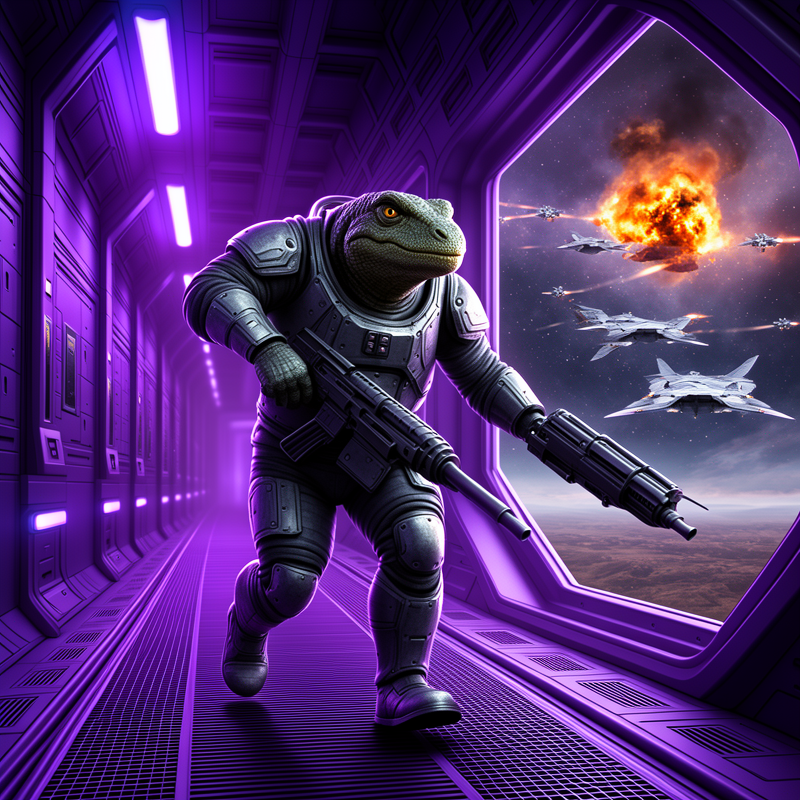
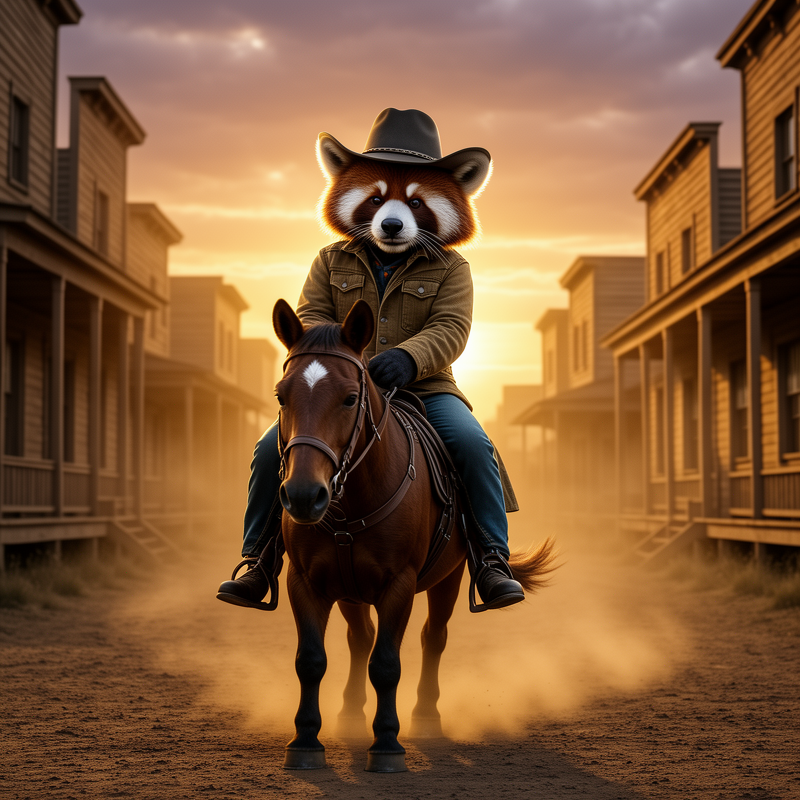
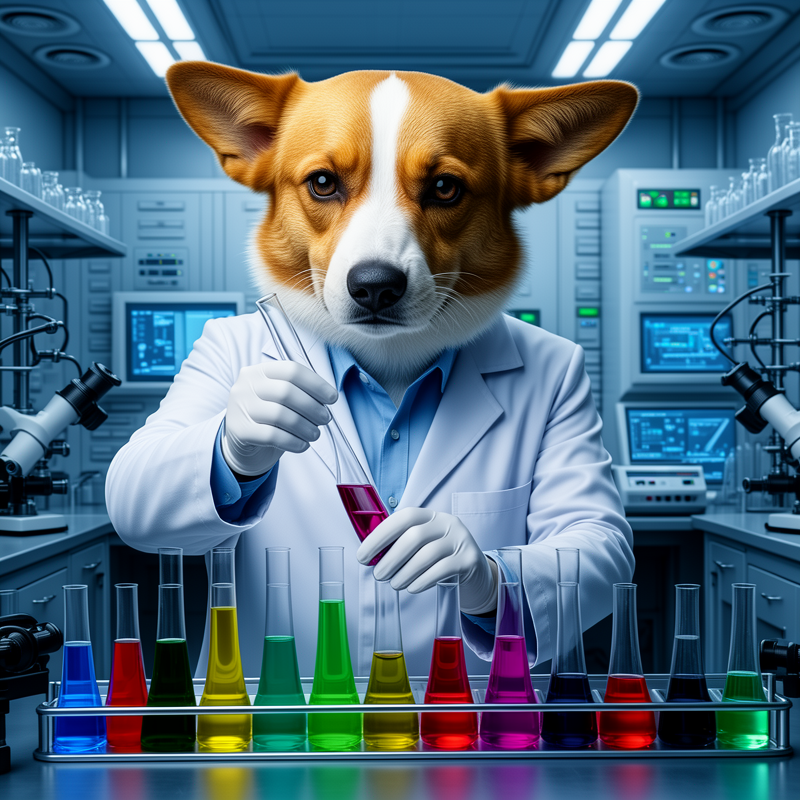
In the meantime, here’s some I generated earlier.

0 Comments